Special Groups
To set up Special Groups
- Search for Special Groups.
- Press New to enter a new Special Product Group.
- Fill in the Code and Description fields.
To assign items to Special Groups
- Search for Retail Item List and select one Item. The Retail Item Card window opens.
- Click Item, Special Groups.
- In the field Special Group select the special group.
Repeat step 3 for each special group you would like to assign to the item.
Special Groups can be used in LS Retail Standard for the Retail Item Search, definition of station printing and as a filter on the POS Command DYNMENU.
You can link a special group to an Item Hierarchy. This gives the option to see the special groups in the Sales History.
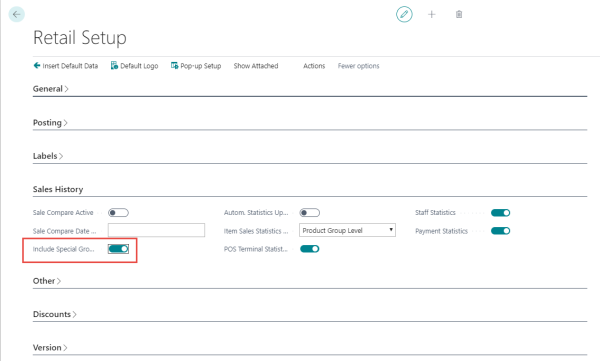
Optionally, you can decide in the Retail Setup, - Sales History section to ‘Include Special Groups’. In that case you do not need to link it to a Item Hierarchy but still can see them in the Sales History.
Special Groups can be assigned to Seasons and Events.