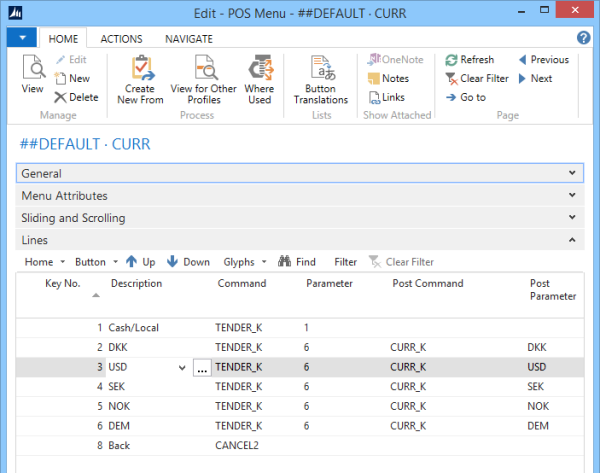
The POS setup includes a lot of data, some of this data is standard and some of it is unique to each installation. To simplify the data setup the system has features to assist the POS setup user, making the configuration of the POS easier and faster.
These features are:
- The Import Export Worksheet
- The Where Used action
- The Create New From action
- Moving lines up and/or down
The Import Export Worksheet: To copy setup data
It is possible to export selected data from a company and then import it into another company in the same database or another database.
The tool to do this is the Import Export Worksheet.
This tool exports the selected data into an XML file and imports the data from the XML file. The user has to make sure to be active in the company the data is being exported from and imported to.
The POS setup data recommended to be imported from the Demo Data is:
- Interface Profile ##DEFAULT
- Menu Profile ##DEFAULT
- Functionality Profile ##DEFAULT
- Hardware Profile ##DEFAULT
- Style Profile ##DEFAULT
- POS Tag, all tags
- POS Data Table, all tables
- Scheduler Job Header, all jobs
- WS Request, all data
- POS Context Menu, all data
Optional import data:
- Other profiles which exist in the Demo Data Company
- POS Search Table
- Hospitality data if needed
All this data can then be adjusted to fit the customer’s requirements.
Tip: When setting up a new company in LS Central, import the relevant POS profiles from the demo data company as you like. It might be easier to build the new POS from some of the existing profiles.
The Import Export Worksheet tool is found in
LS Retail - Administration - Tasks - Design Transfer
Or
LS Retail - Point of Sale - Design - Tasks - Design Transfer

With this tool it is possible to export and import different POS Setup Data.
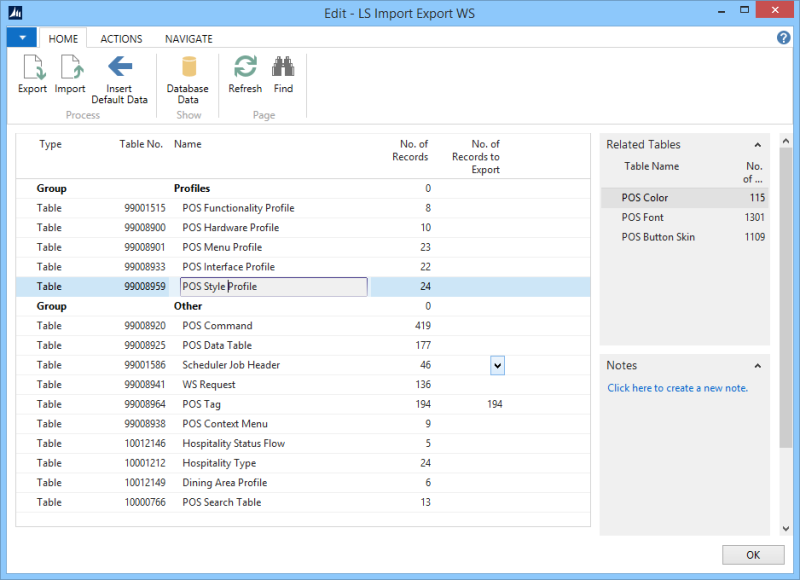
To Export data:
- Be active in the company the data is being exported from.
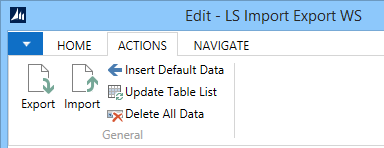
- Open the tool: Import Export Worksheet.
- Select the group line which is going to be exported.
- For most of the records to export need to be selected before they can be exported. To do so go to the No. of Records to Export field, open the drop down list, select one or more profile by checking the field Export Profile for each profile to export. It is possible to select all records by using the Select All action.

- Use Actions Export.
- A Windows Explorer window opens.
- Select your destination.
- Optional is to edit the File name.
- Finish the action by pressing the Save button.
- The XML file is created.
Tip: For most of the options, the user check marks the individual records to export; No. Of Records field displays the number of checked profiles. Either mark the records for exporting or use the action Select All for all data.
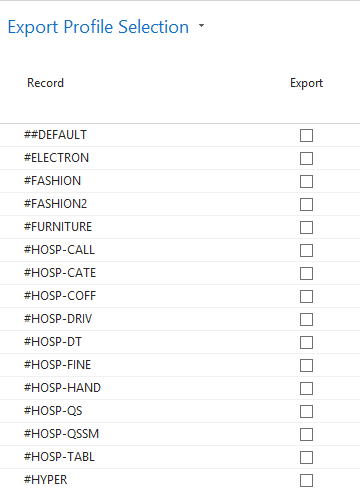
Note: The export tool exports the selected data table and all of its related tables as is displayed in the Related Tables window
To Import data:
- Be active in the company to import the data into.
- Open the action Import Export Worksheet.
- Be active in the group line data to receive the imported data.
- Use Actions Import.
- A Windows Explorer window opens to select the folder where the import file is.
- Select the folder where the XML file is.
- Select your file.
- Finish the action by pressing the Open button.
-
The system displays this window:
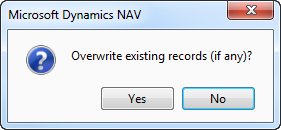
- Use Yes or No depending on what is wanted.
- The imported XML file is read into its data tables.
Tip: By answering the Overwrite existing records window with No it is possible to import only new data.
Update Table List for the Import Export Worksheet
When the program is updated the user might need to update the table list for the Import Export worksheet.
To do this run the Update Table List action in case more Groups have been imported for the worksheet.
The Where Used action
The Where Used action is very useful in locating where POS setup data is being used.
With this action it is possible to
- Display a list of all places where the POS object is used in the POS setup data
- Allows the user to view the page where the POS object is used and edit it
The Where Used action is displayed like this  or this
  in the action menu.
The Where Used action is available for these POS objects:
- Profiles, all types
- Button Skins
- Fonts
- Color Setup
- POS Commands
- Panels
- Button Pad Control
- Data Grid Control
- Input Control
- Record Zoom Control
- Media Controls
- Browser Controls
- Menus
- Data Tables
- Tags
- Context Menus
- Retail Images
Example: Where Used for a Functionality Profile:
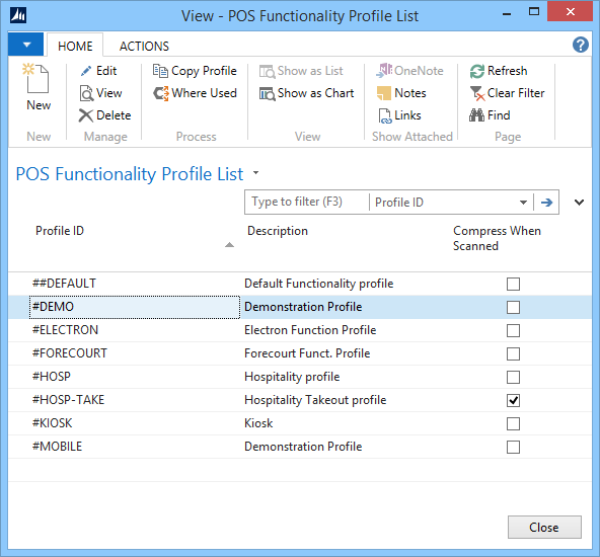
- Open the Functionality Profile List.
- Select the line with Profile ID #DEMO.
-
Use the Where Used action.
-
The Where Used window opens:
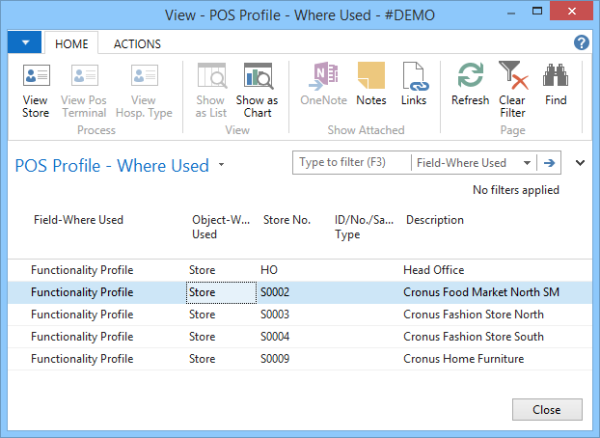
- The Where Used window lists all the actions where the selected profile ID has been inputted
- By selecting one of the Where Used lines it is possible to open it by selecting the relevant actions for this line
- In the above window we can see that action. View Store is active since the selected line has to do with Object Store
- The user can then view the action behind the line and edit it
The Create New From action
For most of the POS objects, the action Create New From is available. This action copies the current object into a new one that you give the desired name. You can let the system open up the new object in a page where you can make changes to it.
Up and Down for lines
The feature Up and Down is used for moving lines up and down. This is available for example for Menu Lines, Panel Lines, and POS Data Table Lines.
The Up and Down buttons look like this:

You can only select to move one line at a time.
Example: The Currency menu:
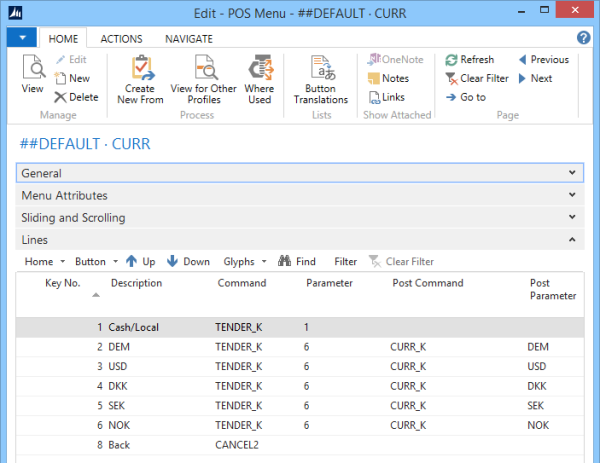
- Select the DEM Line, press button Down few times so the line will be moved few lines down
- Select the USD line, press button Down once
The Menu should now look like this:
